
Join Sara and I for a spring Hammock Camping and Backpacking trip in Shenandoah National Park.
For this trip, we’ll be visiting Shenandoah National Park for a 2 day overnight backpacking trip in the Thornton River area of the park’s northern district.
Parking Location: N38° 45.689′ W78° 16.923′
From Front Royal entrance station, take Skyline Dr. S to mile marker 21 and park in the lot on the right not too far after Hogback Overlook.
Trails Used (in order) and Route Notes
Day 1
- Start by heading south on the Appalachian Trail from the trailhead connected to the parking lot.
- At the Junction with Tuscarora Trail, take a right to continue on Tuscarora Trail. (Yes, this is where we took the wrong turn and ended up back at Skyline Drive)
- Take Matthews Arm Trail towards Matthews Arm Campground.
- Pass the campground and cross over Skyline Drive.
- From the other side of Skyline Drive take Elkwallow Trail.
- Continue along ridge line, via Elkwallow Trail.
- At the next junction, hang a right on Thornton Trail to begin descending back towards Skyline Dr.
- Cross the road to continue on Thornton Trail.
- Decent camping opportunities become available as you approach the Thornton River. A potential area on the right (that we skipped) is marked in my GPS data file for the trip.
- Continue on Thornton Trail. From this point on, the trail will cross back and forth across the river several times, before any particular decent camping areas appear.
- Reach the intersection with Hull School Trail. There are reportedly several decent camping opportunities within range of this intersection. We chose to continue down Thornton Trail a little ways and camp not to far from the river as a water source.
- Setup camp along Thornton River.
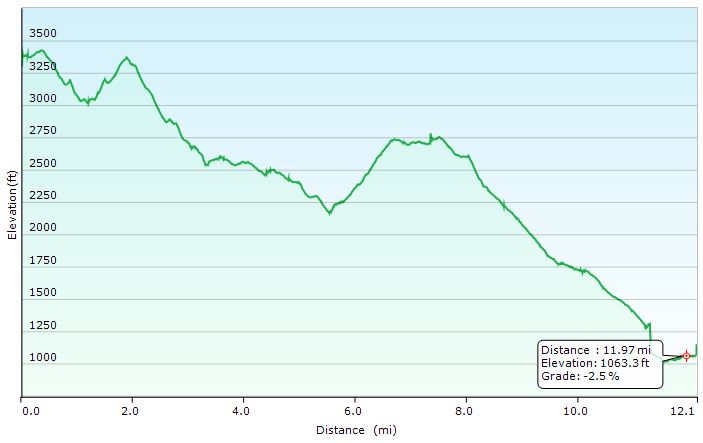
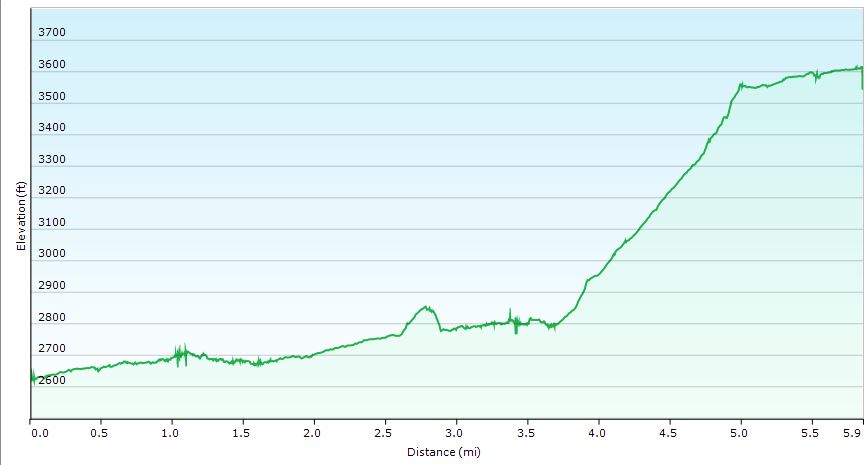
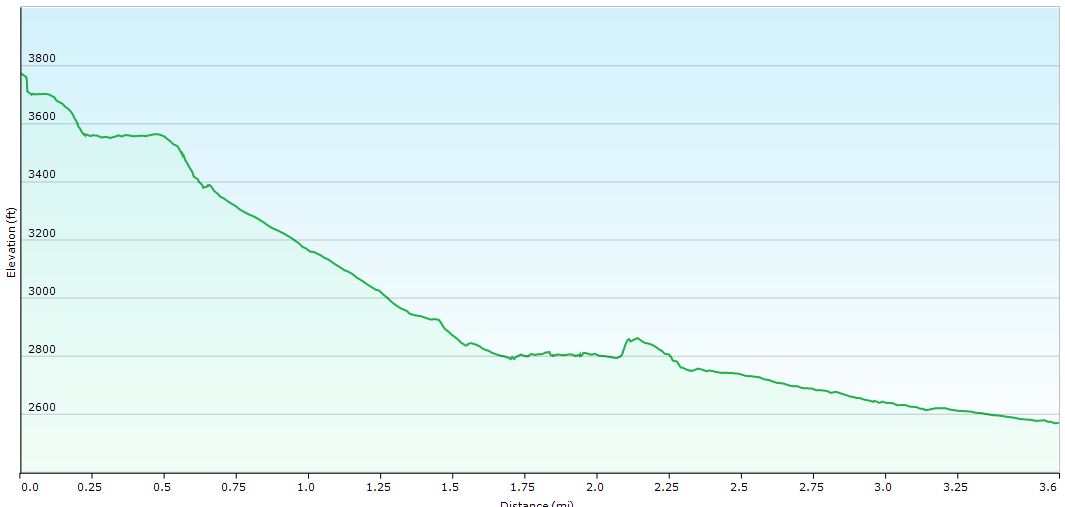
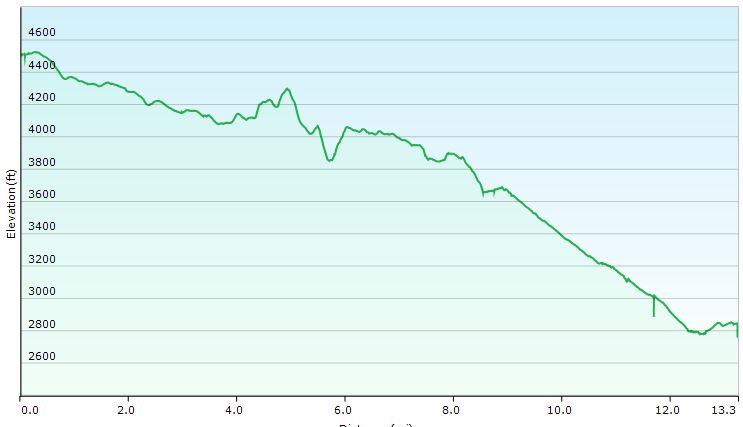
Thornton Hollow – Day 1 Elevation Profile
Stats for Day 1
Mileage: 12.1 miles
Gross Ascent: 1,621′
Gross Descent: 3,632′
Day 2
- Break Camp and follow Thornton Trail back to trail junction.
- Hang a right to head uphill on Hull School Trail
- Continue on Hull School Trail, crossing the Piney River, and passing the Bolen Family Cemetery.
- Take the Keyser Run Fire Road towards the Little Devil’s Stairs Trailhead Parking area, and Rt 614.
- At the parking area, head up Little Devil’s Stairs Trail, though the canyon. Prepare for numerous zig-zags over flowing water and potentially slick rocks, depending on recent rainfall and time of year.
- After gaining 1,200′ or so climbing out of the canyon, reach the the intersection to reconvene with Keyser Run Fire Road once again. At this point you can either stay in the woods by heading left towards Pole Link Bridge and Sugarloaf Trails, which will take you back to the AT and ultimately your car, or hang a right on the fire road towards Skyline Dr for a road hike along several scenic overlooks. We chose the latter.
- Return to the parking lot on Skyline Drive.
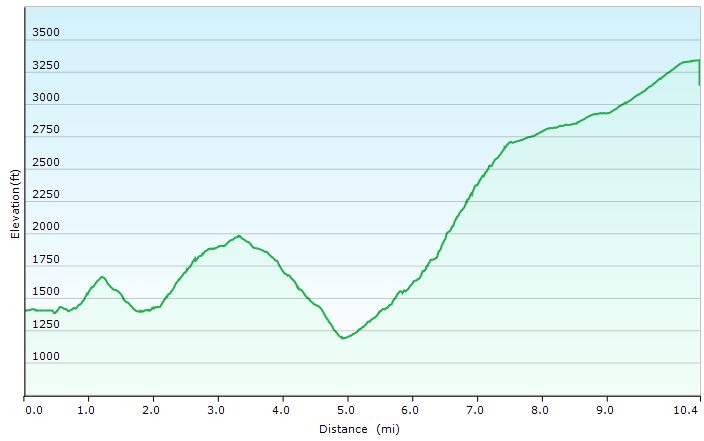
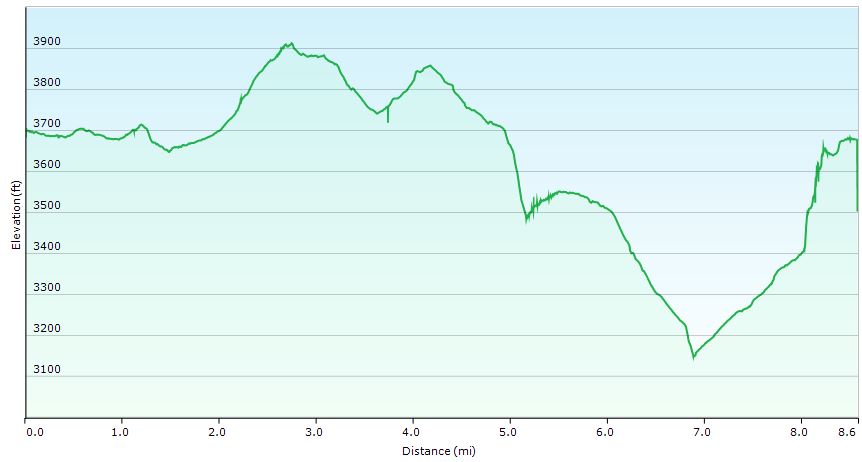
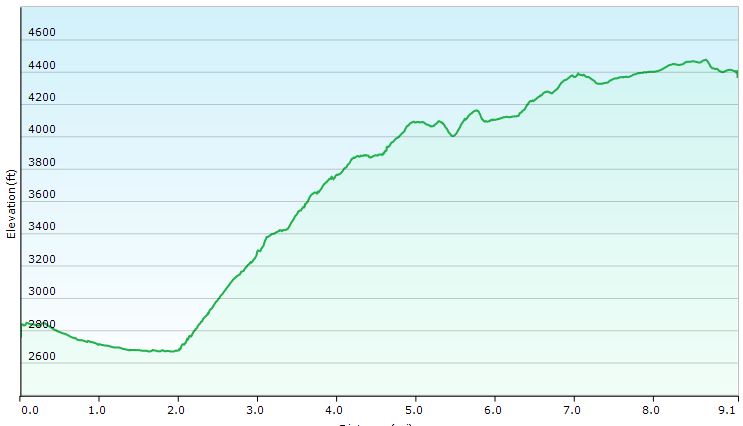
Thornton Hollow – Day 2 Elevation Profile
Stats for Day 2
Mileage: 10.4 miles
Gross Ascent: 3,133′
Gross Descent: 1,237′
Trip Totals for 2 Day Overnight Loop
Total Mileage: 22.5 miles
Gross Ascent: 4,754′
Gross Descent: 4,869′
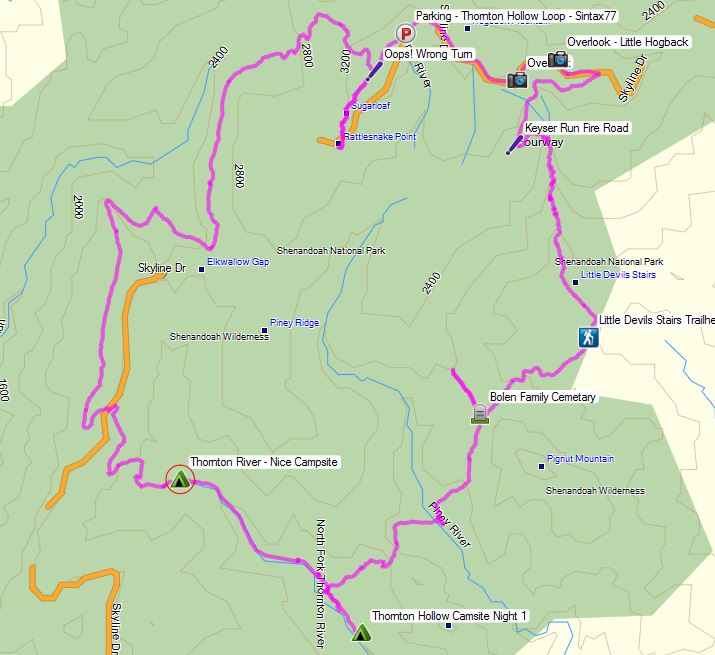
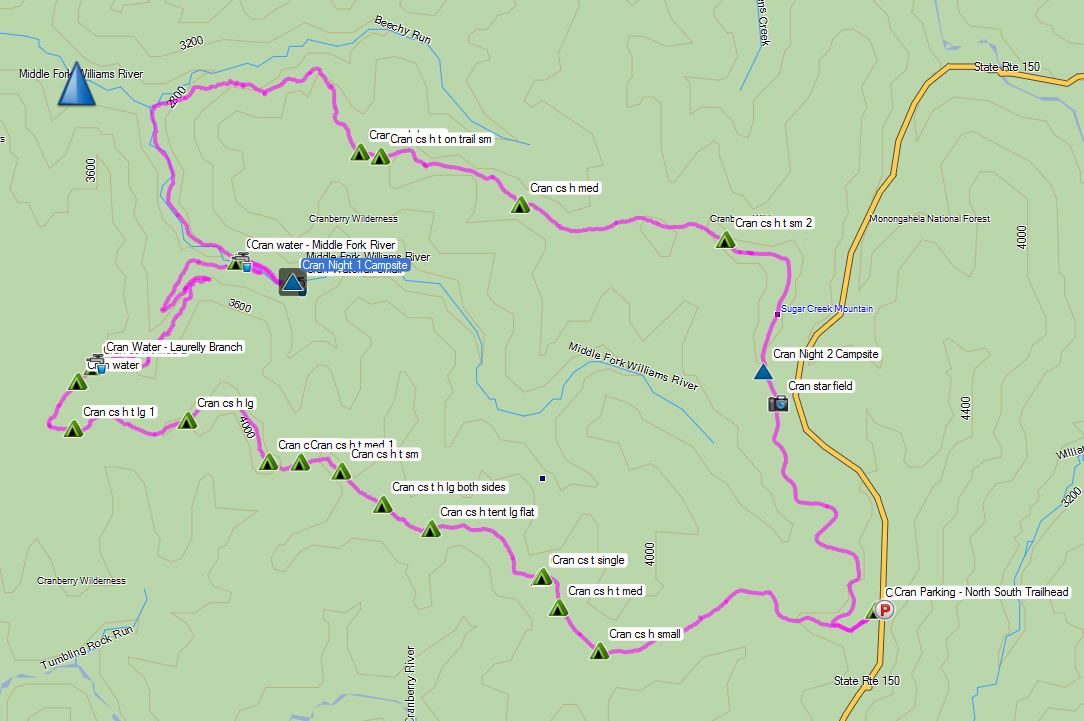
Thornton Hollow 2 Day Loop GPS Track
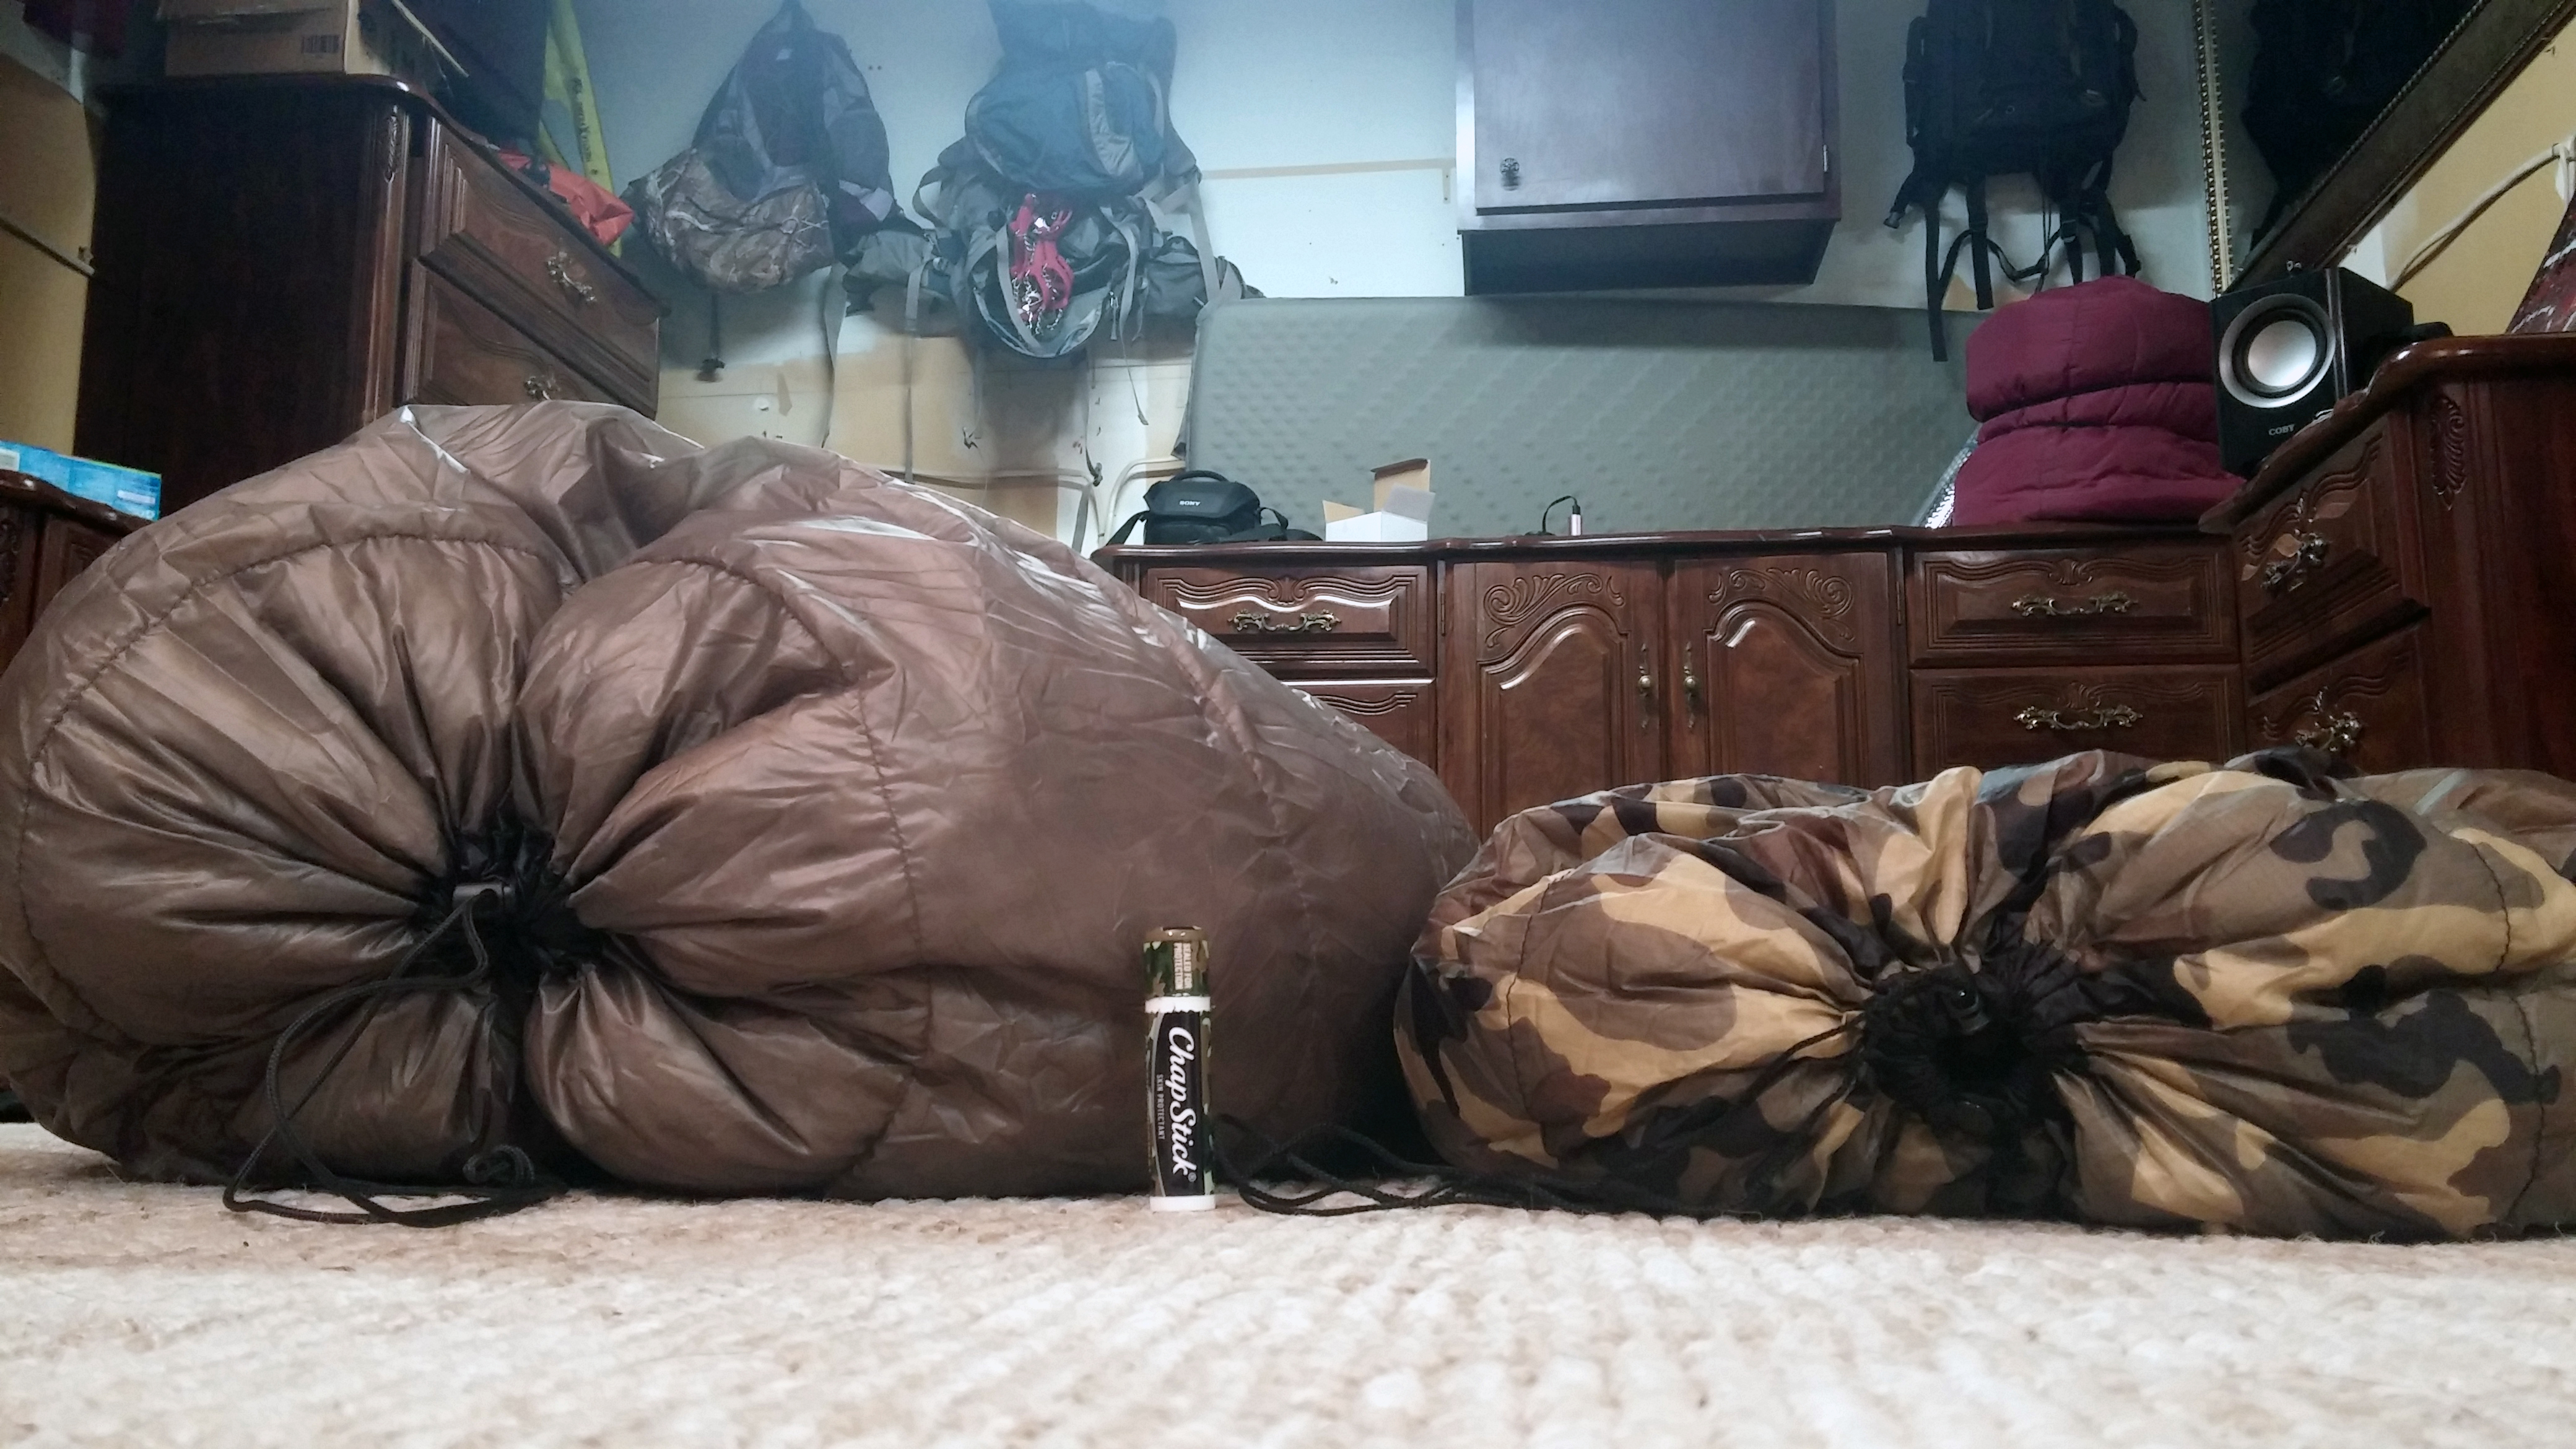
Gear
My wife, Sara, is starting to really look at getting her base weight down, and taking a more weight conscious overall approach. For this trip, she’s basically carrying the standard system that I usually use, seen here in my 2015 Ultralight Backpacking Gear List video and blog post. A detailed run down can be found in that post, as well as on my Gear Lists page. The only notable difference would be her own clothing choices, and the esbit cooking system. I chose instead to carry a generic $5 canister stove, and a can of IsoPro canister fuel for the sake of simplicity. I also knew that the terrain and mileage would be relatively tame on this trip, so it was well worth the extra half pound or so.
For my gear, I basically just carried all of my older gear that I’ve slowly upgraded away from over the years. I all works great, it’s just a bit heavier – but it sure comes in handy when the wife says she wants to head out for a trip. Eventually, Sara will probably get her own ultralight backpack to replace her larger, heavier Gregory Baltoro, but in the meantime, I’m fine with using my EMS Longtrail 70. Once she’s decided on a new pack, I’ll put the Longtrail back into use strictly as my heavier bag for winter trips.
Notable Gear Items (For full lists, head over the to the Gear Lists Page)
Sara
- Dream Hammock Darien Ultralight Hammock with Dutch Clips and cinch buckle suspension system.
- Hammock Gear Cuben Hex Tarp with Zing-It guy lines and Dutch Wasps for quick tension adjustment.
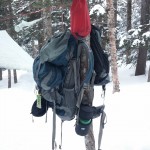
- Osprey Hornet 46 backpack.
Shawn
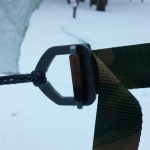
- Dutchware PolyD 1.2 Hammock with Dutch Speedhooks and Kevlar Tree Hugger suspension system.
- Hennessy Deluxe Hex Tarp with Dutchware continuous ridge line kit (30′ Zing-It, Dutch Hook, Dutch Wasp, and two soft shackles) and Dutch Tarpworms shock corded to each corner tie-out point.
- EMS Longtrail 70 backpack
- Generic Canister stove and Toaks 750 ml titanium pot for boiling water needed to re-hydrate those ridiculously tasty PackIt Gourmet meals.
- Sawyer Squeeze rigged up in gravity mode, using a few dollars worth of 1/4″ tubing and adapters that I grabbed on a whim from the Dutchware site while picking up the previously mentioned Tarpworms. So far, it’s working great – I don’t know why I didn’t do this sooner!
Post-Hike Cheeseburger Spot
The Backseat Bar and Grill, in Winchester, VA
The vibe here was basically if you combined classic diner with a bar that has IPA on tap. We both got fried pickles to start, followed by a classic, straight forward cheeseburger with fixins. This paired nicely with the Devil’s Backbone IPA that they had on tap, which we thought was the obvious choice after having just conquered Little Devil’s Stairs.
Links for More Info
Info on Shenandoah Backcountry Camping Permits and Regulations.
Official Parks Service Info Sheet and Map for Matthews Arm area.
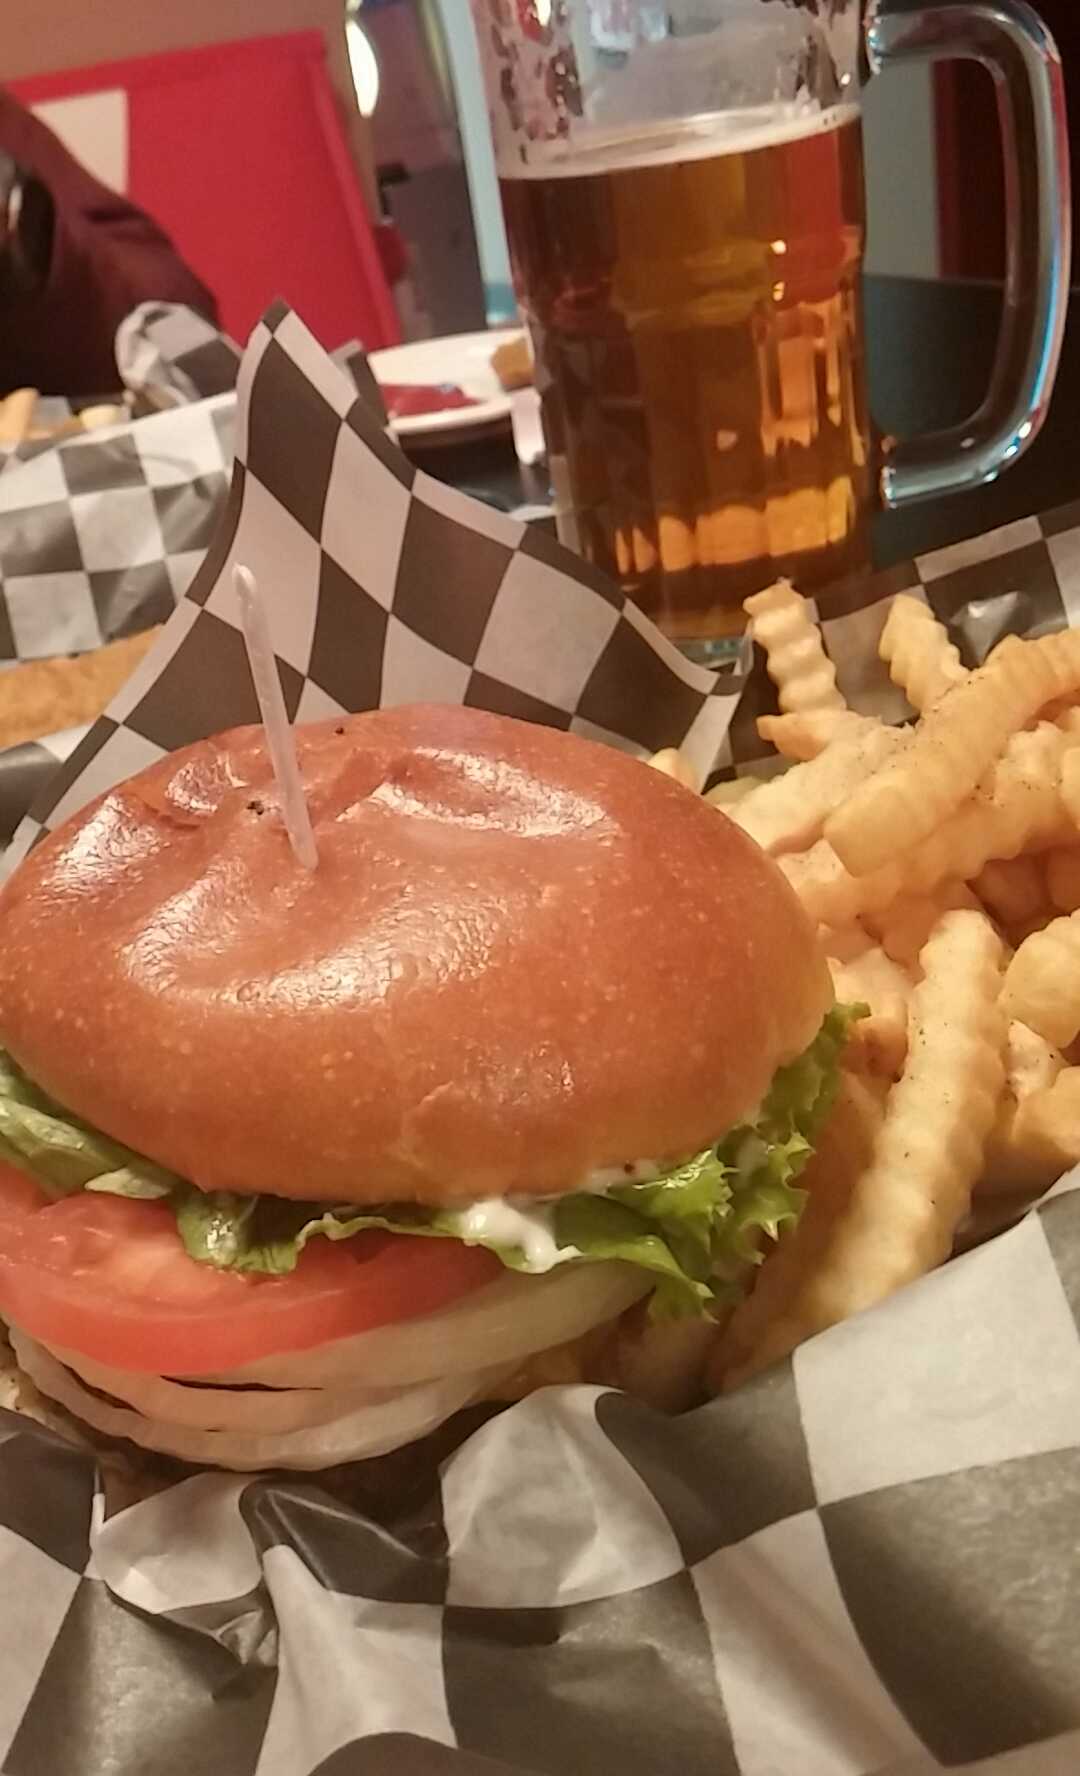
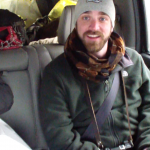
Post Hike Burger at the Backseat Bar and Grill.
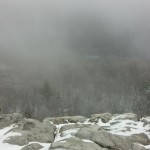
-
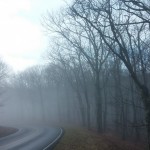
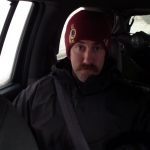
- The day starts with a foggy Skyline Drive.
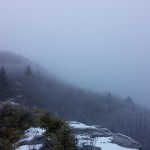
-
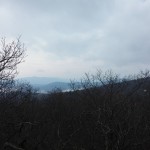
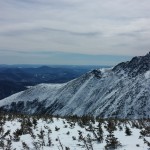
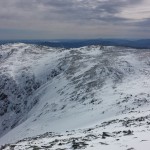
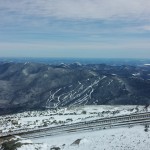
- Looking down on the Blue Ridge Mountains from a break in the trees.
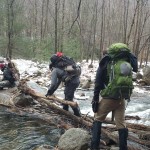
-

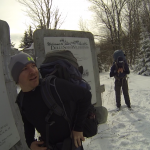
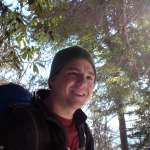
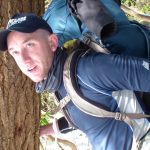
- Some happy hikers enjoying the view.
-

- Sara conquering Skyline Drive
-

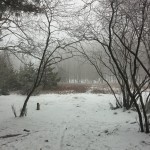
- A view through the trees in Thornton Hollow
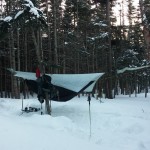
-
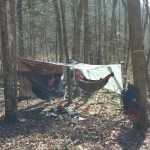
- Hammock Camping along the Thornton River.
-
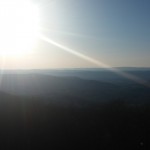
- Approaching Sunset
-
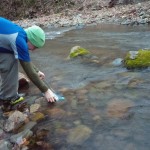
- Collecting water from Thornton River
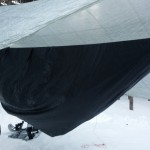
-
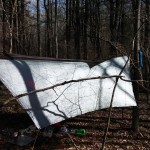
- The Hammock Gear Cuben Hex Tarp
-
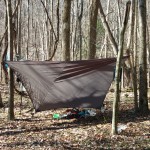
- The Hennessy Deluxe Hex Tarp.
-

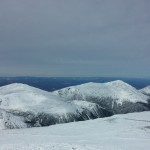
- Sunet on the Blue Ridge Mountains
-
- Setting up the Sawyer gravity system
-
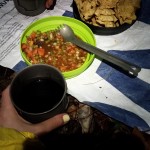
- Chips and Packit Gourmet Salsa time!
-
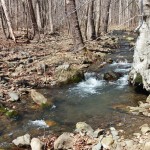
- Thornton River
-
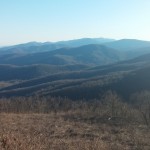
- A look across the Blue Ridge Mountains.
-

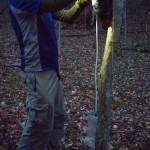
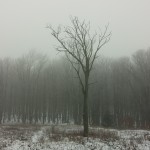
- The Creepy Tree!
-

- Post Hike Fried Pickles!
-

- Post Hike Burger at the Backseat Bar and Grill.
-
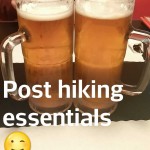
- Devil’s Backbone IPA from the Backseat Bar and Grill


 (1 pair)


 , folding

 w/ battery


 trail runners